Sunday, February 5, 2012

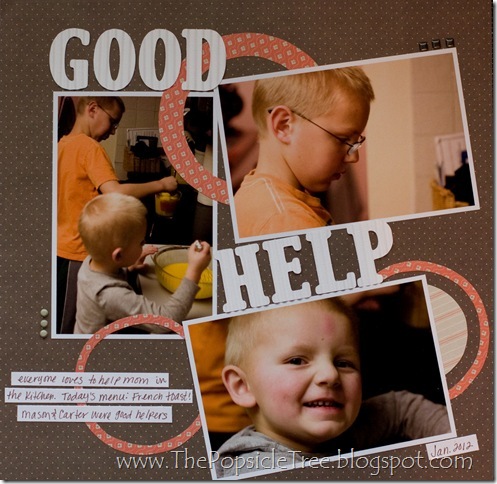
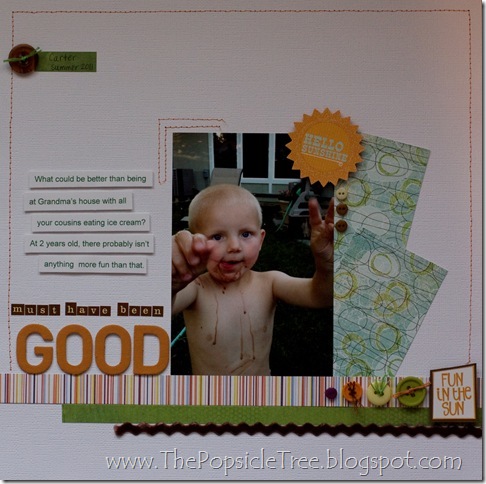
Must have been GOOD

I’ve had this picture floating around for a while and couldn’t quite figure out what I wanted to do with it.  I finally just made myself put together a LO.  I’m glad I did and I’m happy with  it!

013

Cardstock-Bazzill.  Pattern Paper-Basic Grey & SEI.  Buttons-Basic Grey & American Crafts.  Rik Rak unknown.  Alphas-American Crafts & Cosmo Cricket. Other embellishments form SEI and Echo Park

Saturday, February 4, 2012

Good Help

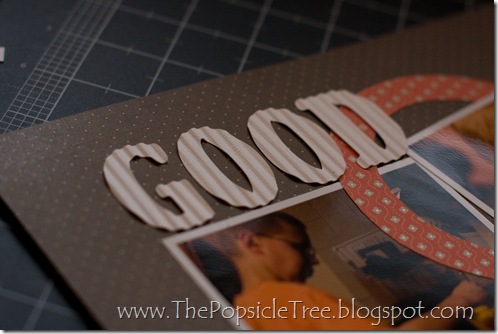
A friend of mine from Club CK (Steffanie) shared how she makes corrugated alphas.  It’s super easy and I love the dimension it gives to layouts.  Just cut out some letters with a die cutting machine and then run them through your paper crimper.  You can check out here blog here.  She’s very talented!!

009

016

Papers from SEI.  Alphas cute with Cricut.

Thursday, February 2, 2012

Valentine's Card Blog Hop

Hey there!!  Thanks for stopping by!  You should have come from Jordan's blog.  If you just started here you might want to start at Amanda's blog and follow along!
I was actually EARLY with my project!  I've had these cards done for weeks!!  I really enjoyed this challenge.  Amanda from Love Joy Paper sent us all a few pieces (most the same for everyone) and we had to make a card out of at least half the items in the envelope.  I have to say, I really love how mine turned out and I've been patiently waiting to share it with all of you!
Included in my envelope was a few small pieces of patterned paper, a handful of chipboard shapes, bling and the red and white twine.
I had been sewing for a few days and while my machine was out I used it on a couple cards.  The bottom strip was first punched with an edge punch then folded in pleats and stitched over the top.


And since I was in a good mood or felt like I could win some brownie points...I created a second card with some of the leftover items.  Super easy and super cute card! I used my Stampin Up heart punch (3 in 1) to punch out some small hearts.  Adhered them to the page then just stitched over them to the bottom of the card!  Add some leftover string and a bling and DONE!


Thanks for stopping by!!  You're next stop on our hop is Shanon's blog.  She always has some fun stuff!

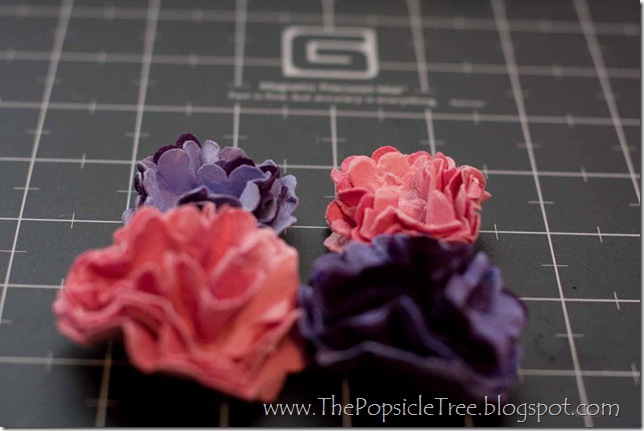
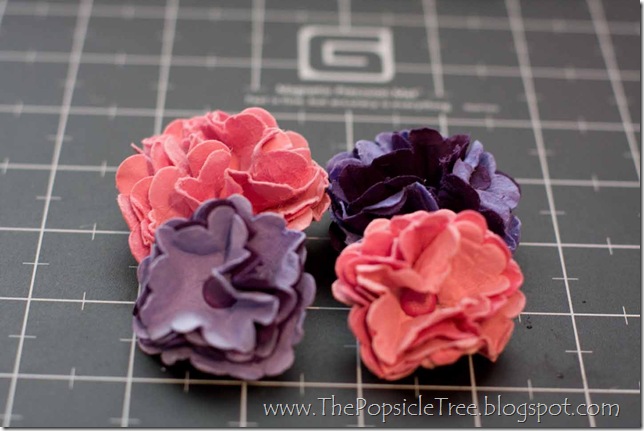
Paper Flowers

I learned how to make these adorable paper flowers from Louise, my Stampin Up Demonstrator.  She’s fabulous!  Thanks Louise!!
Start by punching out some flowers from cardstock.  I used 2 different sizes of scalloped punches from Stampin Up.  Each in 2 different colors. 
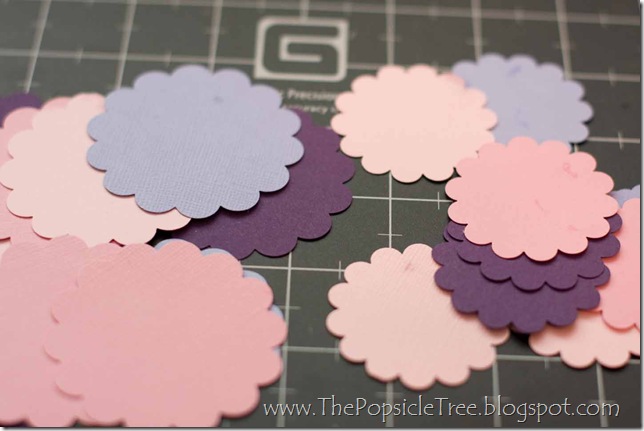
004
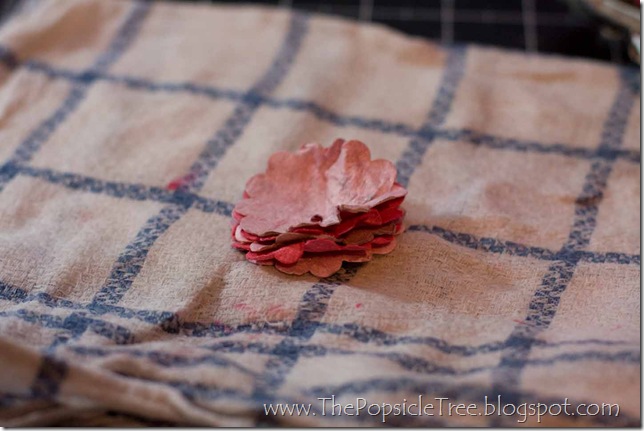
Then you need to get your flowers wet.  You can either spray them with a spray bottle or you can use a wet hand towel and soak them up.  I did not have a spray bottle so I used the towel.  You want them wet enough that you can scrunch them all up without them ripping. 
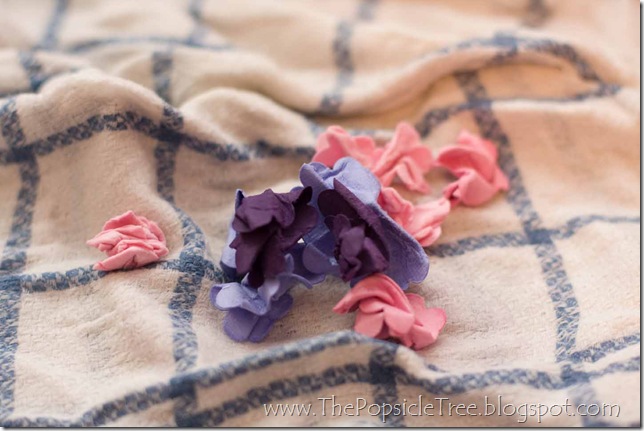
005
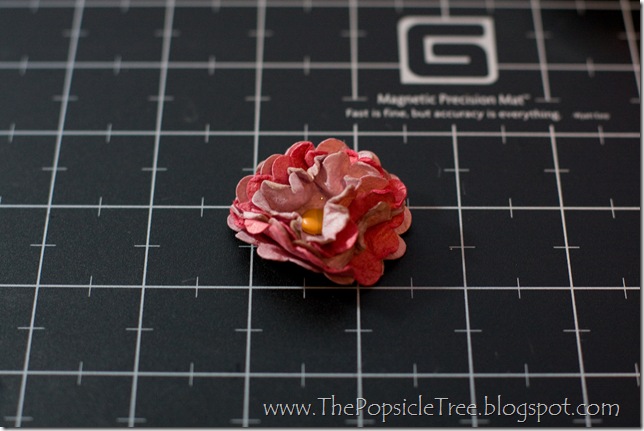
Then open them up and layer them.  To add the brad in the center it’s easiest if you punch a small hole through all the layers, a Crop-a-Dial works really well for that.  Then put your brad in and scrunch up all the petals how you would like them.  When it dries it will keep the shape! 
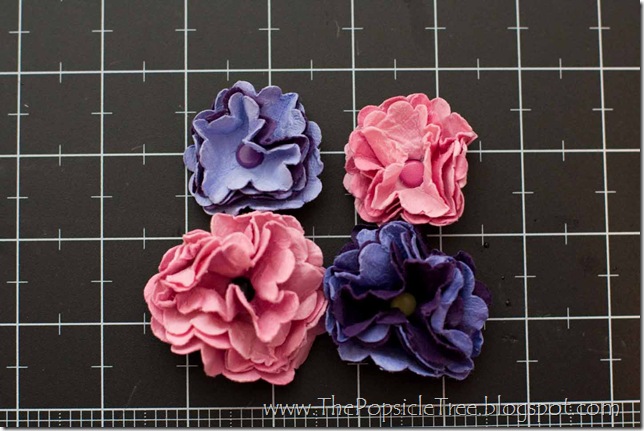
006

007
008
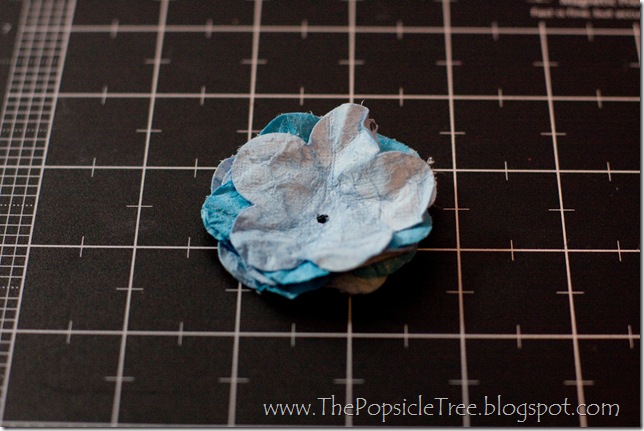
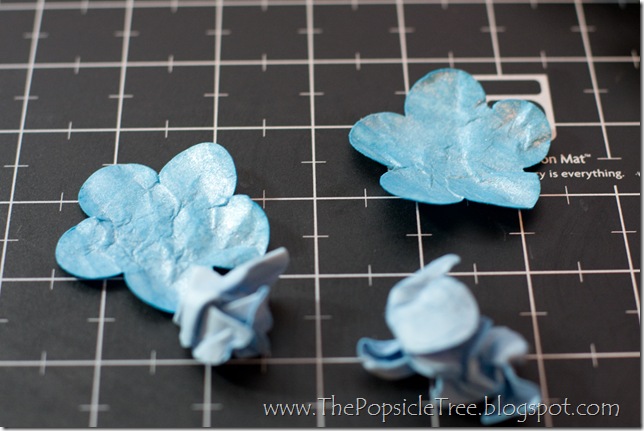
So I thought, well, I don’t have a squirt bottle, but I do have some Glimmer Mist and some Smooch spray.  So I thought I’d try that as my means to get my flowers wet.  It does work but it’s a little more messy since you have to handle the flowers while they are wet. 
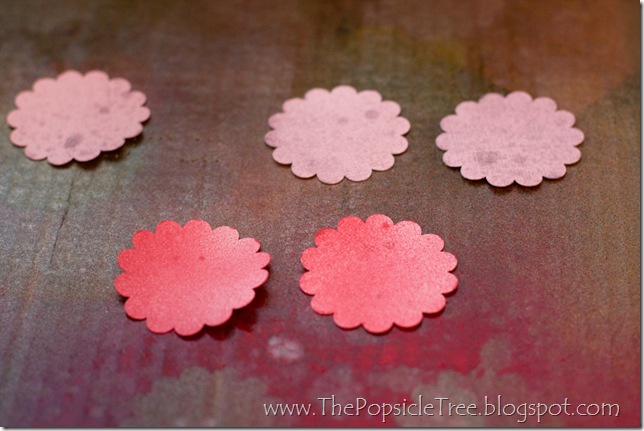
009
010
011
And then I thought, why not try another flower shape!!
012
013
The end result does work but it just doesn’t look quite as good as the scalloped flowers.
Wednesday, February 1, 2012

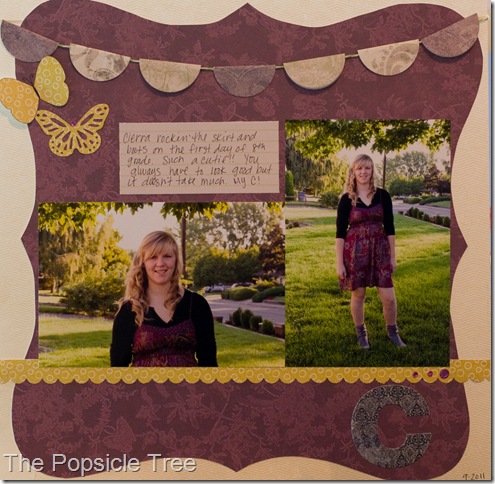
*C*

002

Cierra on the first day of 8th grade!